EvilCrowRF-V2 is an open source hardware platform for sending and receiving Sub-Ghz RF transmissions. The hardware comprises of an ESP32 micro controller with an SD card slot and two CC1101 RF transmitters.

This article will look at installing custom firmware on the device, and performing some basic jamming and signal replay attacks.
Setup instructions are available on the projects GitHub repository, however I found this required some additional steps when using Ubuntu 24.04 LTS.
Installing the Stock Firmware
Install the required apt packages:
1 | sudo apt install esptool python3-serial libfuse2 |
Download the Ardiuno IDE appimage from https://www.arduino.cc/en/software
Next run the following to temporarily remove the AppArmor restrictions that will prevent the AppImage from executing.
1 | sudo sysctl -w kernel.apparmor_restrict_unprivileged_userns=0 |
(Alternatively you can execute the IDE with the –no-sandbox command line option)
Execute the AppImage, which should create a $HOME/Arduino directory. Change into that directory and run the following.
1 2 3 4 5 6 7 | git clone https://github.com/joelsernamoreno/EvilCrowRF-V2.gitmkdir librariescd librariesgit clone https://github.com/me-no-dev/ESPAsyncWebServer.gitgit clone https://github.com/ayushsharma82/ElegantOTA.gitgit clone https://github.com/tobozo/ESP32-targz.gitgit clone https://github.com/me-no-dev/AsyncTCP.git |
Your filesystem should look something like this:
1 2 3 4 5 6 7 8 9 10 11 12 13 14 | ~/Arduino$ tree -L 2.├── arduino-ide_2.3.3_Linux_64bit.AppImage├── EvilCrowRF-V2│ ├── ecrf v2 case│ ├── firmware│ ├── images│ ├── license.txt│ └── README.md└── libraries ├── AsyncTCP ├── ElegantOTA ├── ESP32-targz └── ESPAsyncWebServer |
Next, we need to modify a couple of files:
Change ElegantOTA/src/ElegantOTA.h from
1 | #define ELEGANTOTA_USE_ASYNC_WEBSERVER 0 |
to
1 | #define ELEGANTOTA_USE_ASYNC_WEBSERVER 1 |
Change AsyncTCP/src/AsyncTCP.h from
1 | #define CONFIG_ASYNC_TCP_USE_WDT 1 //if enabled, adds between 33us and 200us per event |
to
1 | #define CONFIG_ASYNC_TCP_USE_WDT 0 //if enabled, adds between 33us and 200us per event |
Copy the following files to a MicroSD card and plug it into the device (the MicroSD card slot is located in the USB A plug).
- Copy the EvilCrowRF-V2/firmware/v1.3.3/SD/HTML folder to a MicroSD card.
- Copy the EvilCrowRF-V2/firmware/v1.3.3/SD/URH folder to a MicroSD card.
Open Ardiuno IDE, File > preferences and set the additional boards manager URL’s to the following: https://espressif.github.io/arduino-esp32/package_esp32_index.json
Select Tools > Board > Boards Manager. Search for “esp32”. Install “esp32 by Espressif system version 3.0.5”. Click “Close”.
Open the EvilCrowRF-V2/firmware/v1.3.3/EvilCrow-RFv2/EvilCrow-RFv2.ino sketch
- Select Tools:
- Board – “ESP32 Dev Module”.
- Flash Size – “4MB (32Mb)”.
- CPU Frequency – “80MHz (WiFi/BT)”.
- Flash Frequency – “40MHz”
- Flash Mode – “DIO”
- Upload the code to the Evil Crow RF V2 device. You may need to manually select the appropriate USB device.
If the flashing completes successfully, the last messages should be something like this:
1 2 3 4 5 6 7 8 | Writing at 0x00113021... (95 %)Writing at 0x00118726... (97 %)Writing at 0x0011de1f... (100 %)Wrote 1123616 bytes (733703 compressed) at 0x00010000 in 10.7 seconds (effective 838.7 kbit/s)...Hash of data verified.Leaving...Hard resetting via RTS pin... |
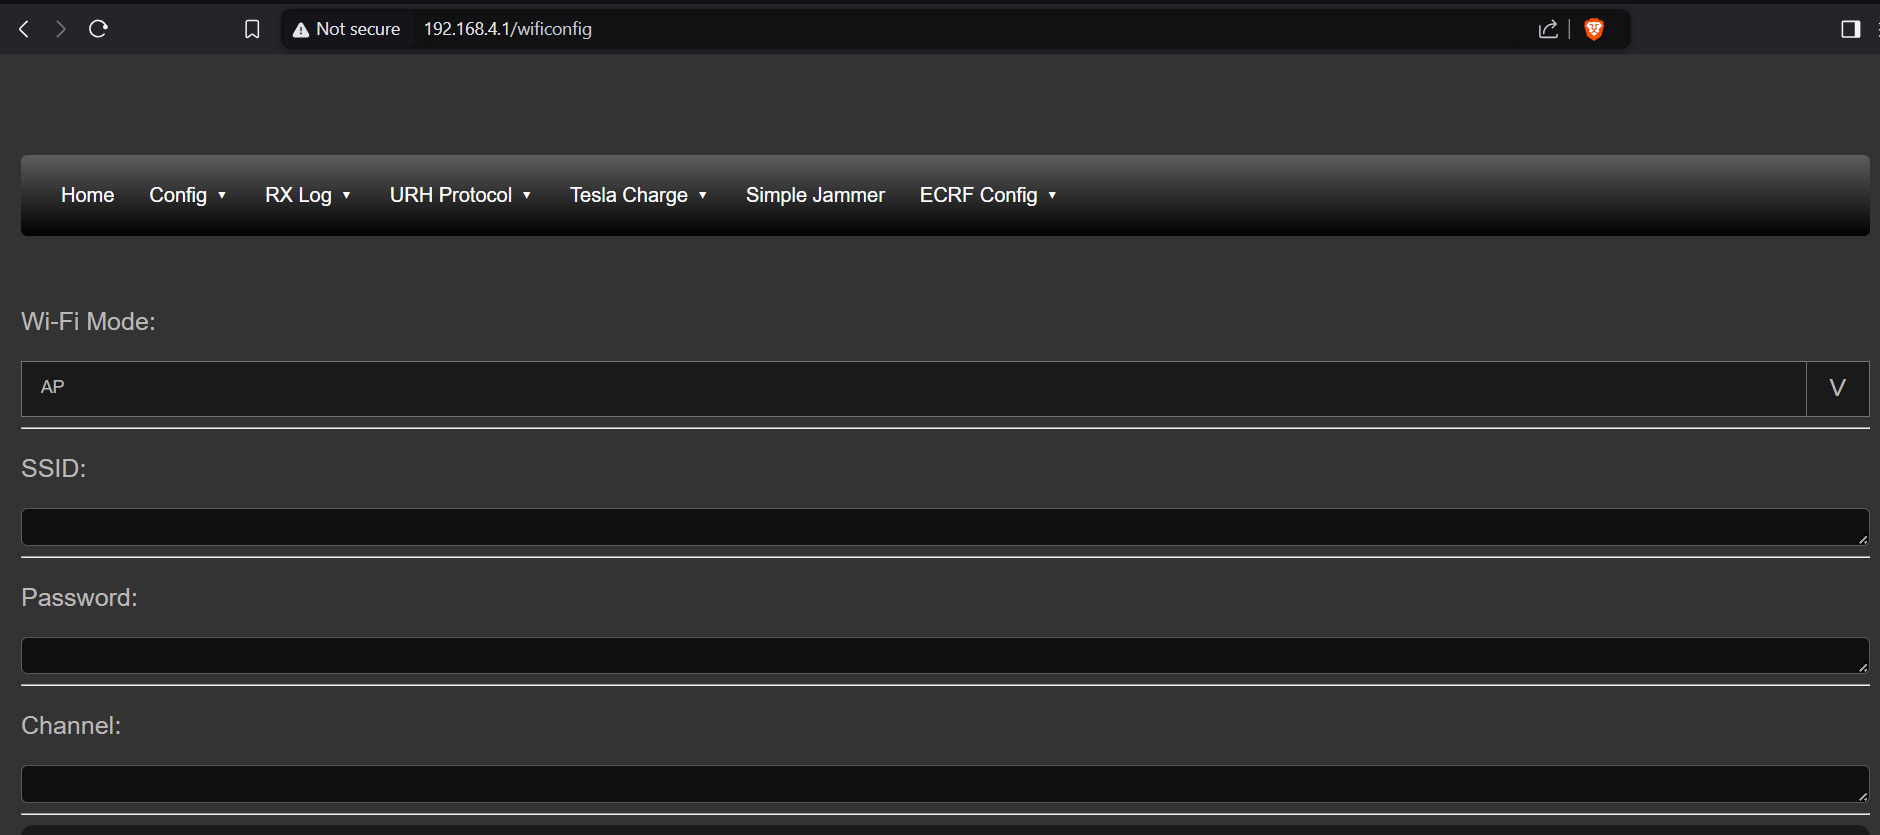
Remove the device, and plug it into a USB power source (or a computer). You should be able able to connect to the wireless access point “Evil Crow RF v2” with the password 123456789ECRFv2. The web interface is accessible on 192.168.4.1.
Installing the h-RAT Firmware
With the stock firmware in place, we can now carry out Over The Air (OTA) updates allowing us to easily install the h-RAT firmware. The h-RAT firmware is compatible with flipper zero .sub files, and includes support for rolljam/rollback attacks.
Download the github repository:
1 | git clone https://github.com/h-RAT/EvilCrowRF_Custom_Firmware_CC1101_FlipperZero |
Then copy the following folders to the root of the SD card:
- CONFIG
- HTML
- SUBGHZ
Boot the EvilCrow and login to the web interface again. Select and over the air firmware update and upload the file BETA_v3.3.1_EvilCrowRF_Firmware.bin
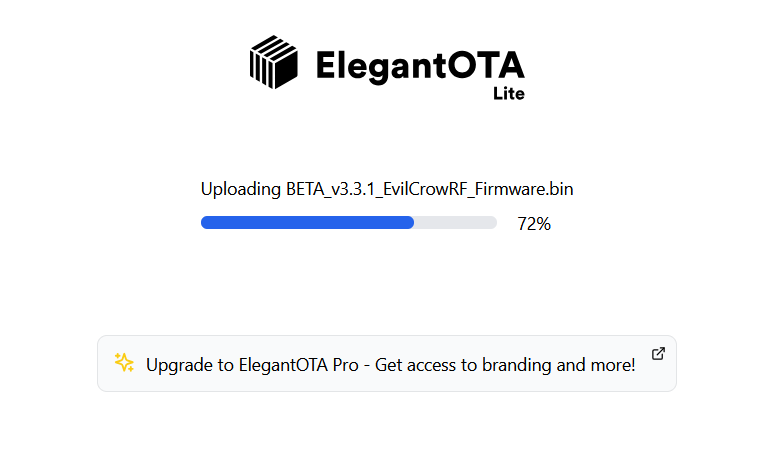
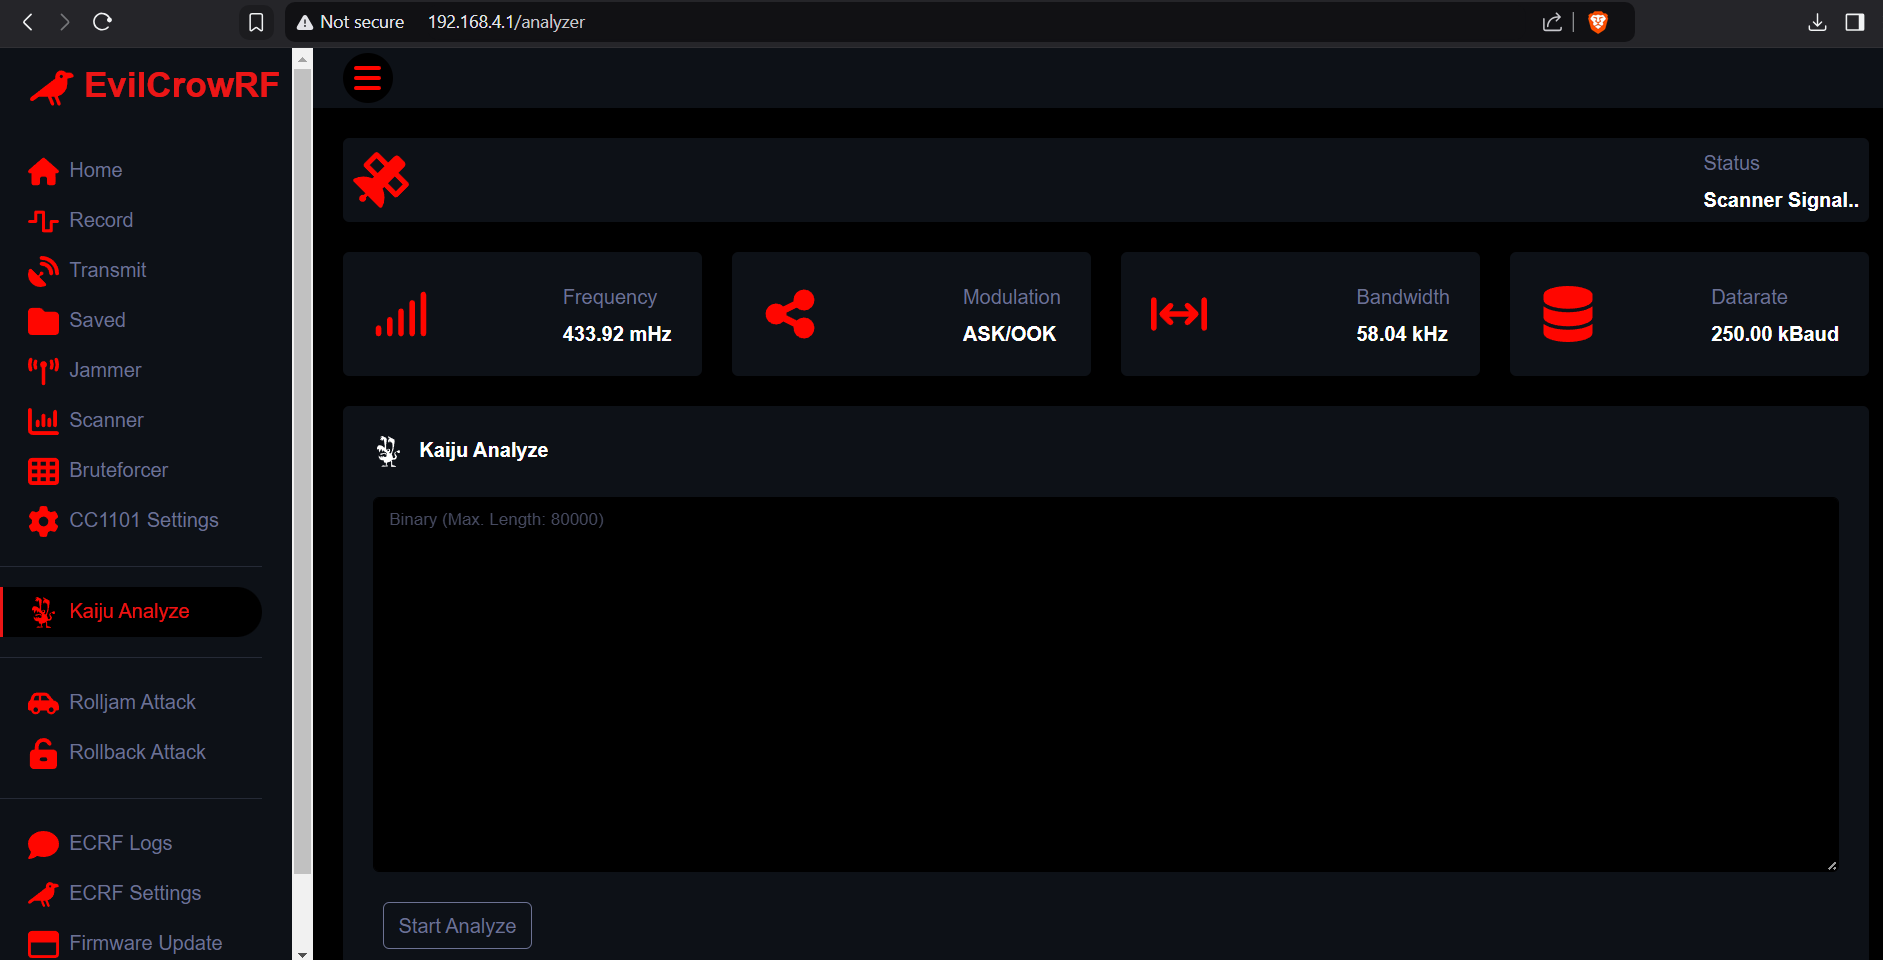
Once applied, you will be disconnected from the existing access point. Connect to the following new SSID: ‘ECRF’ with the password: ‘123456789’.
Jamming Attacks
To jam a signal, just select jammer and set the frequency and output power.
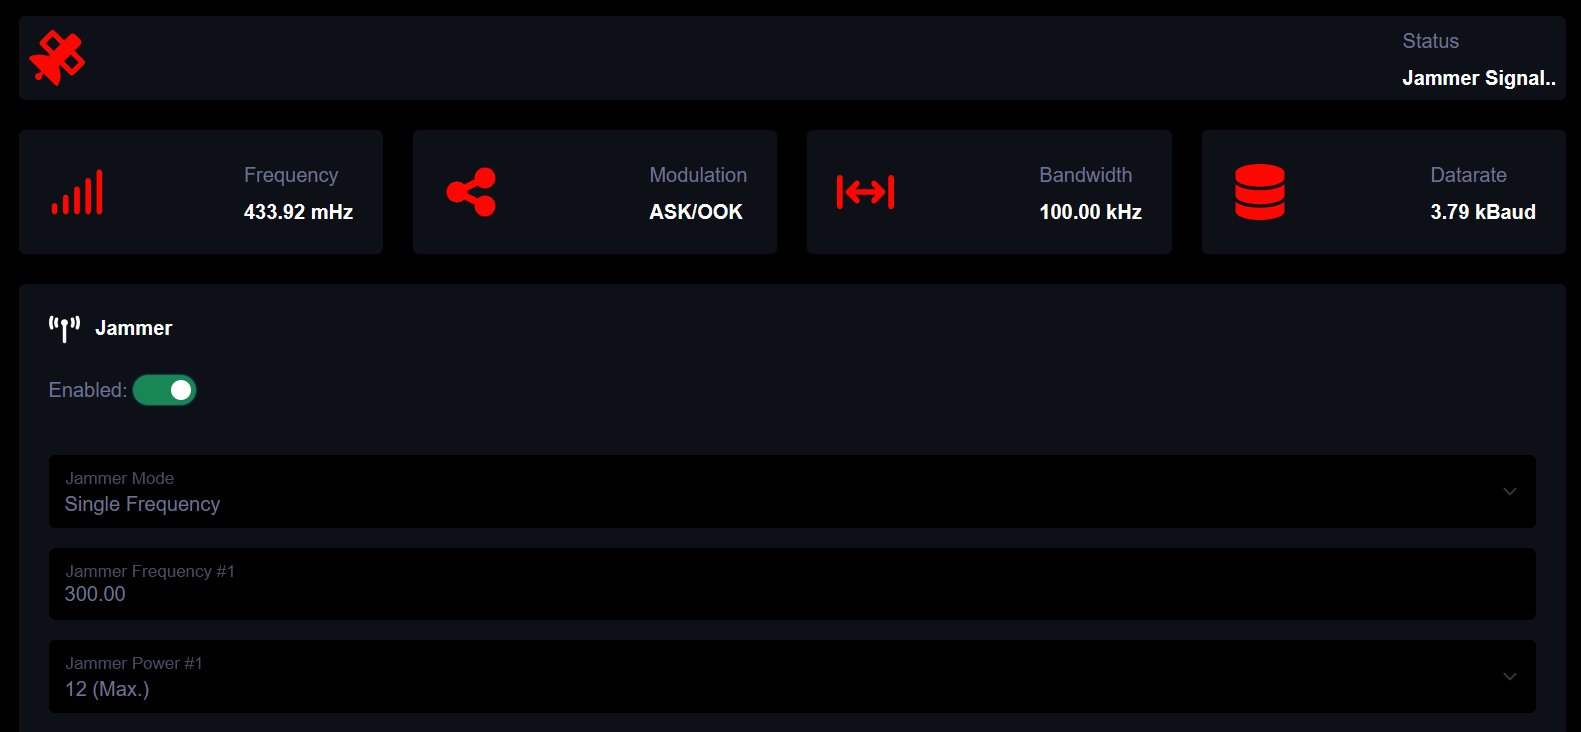
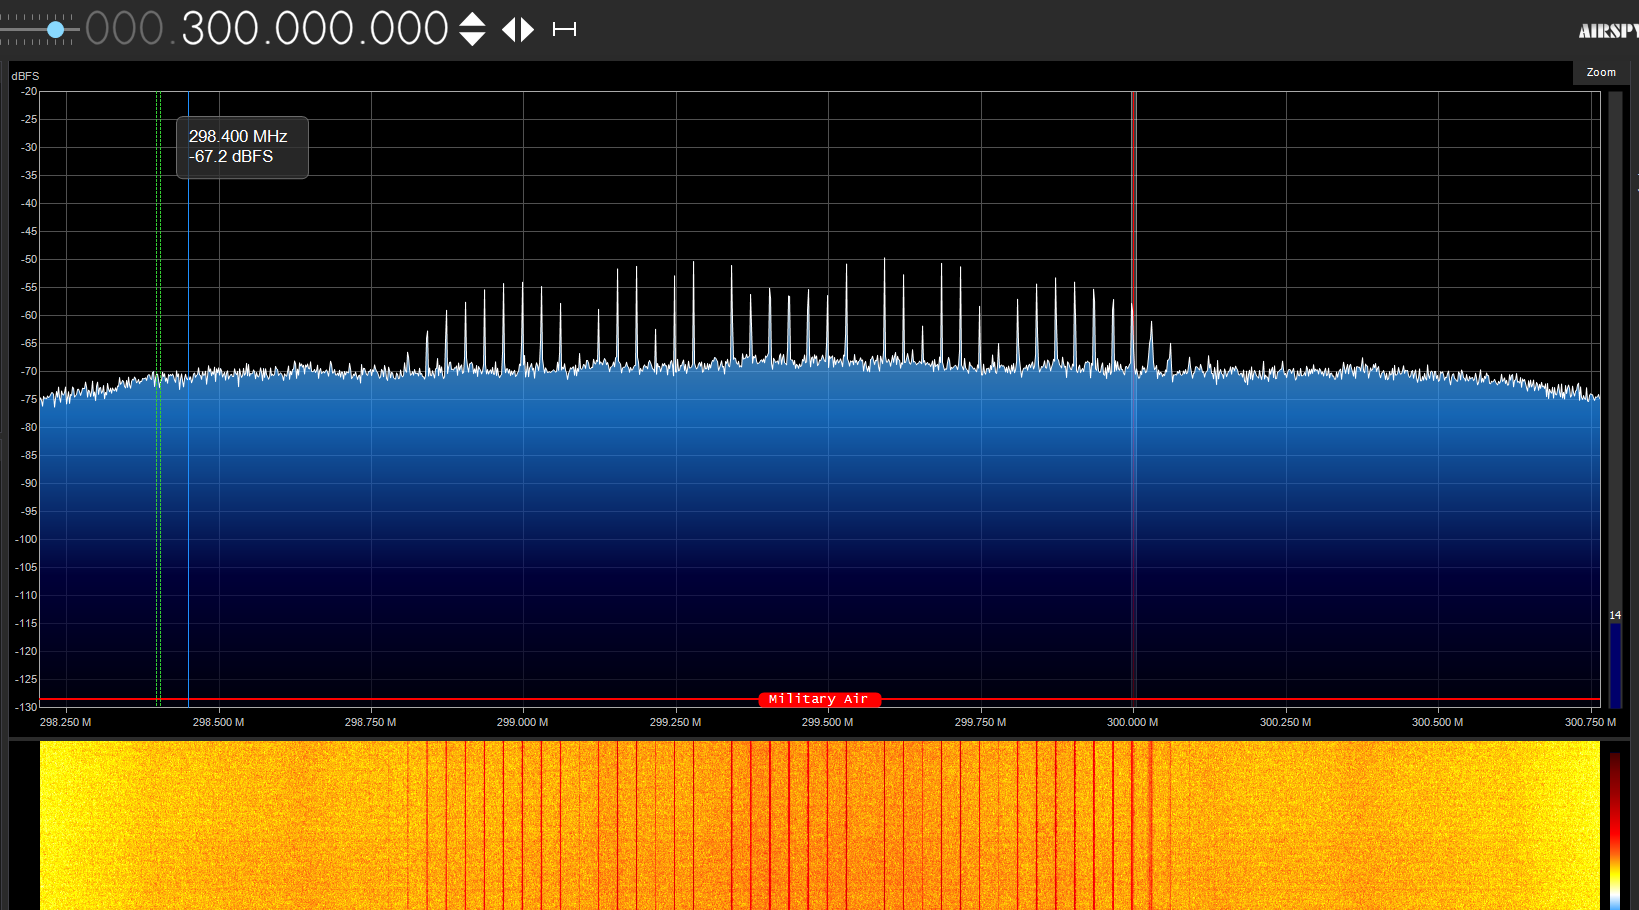
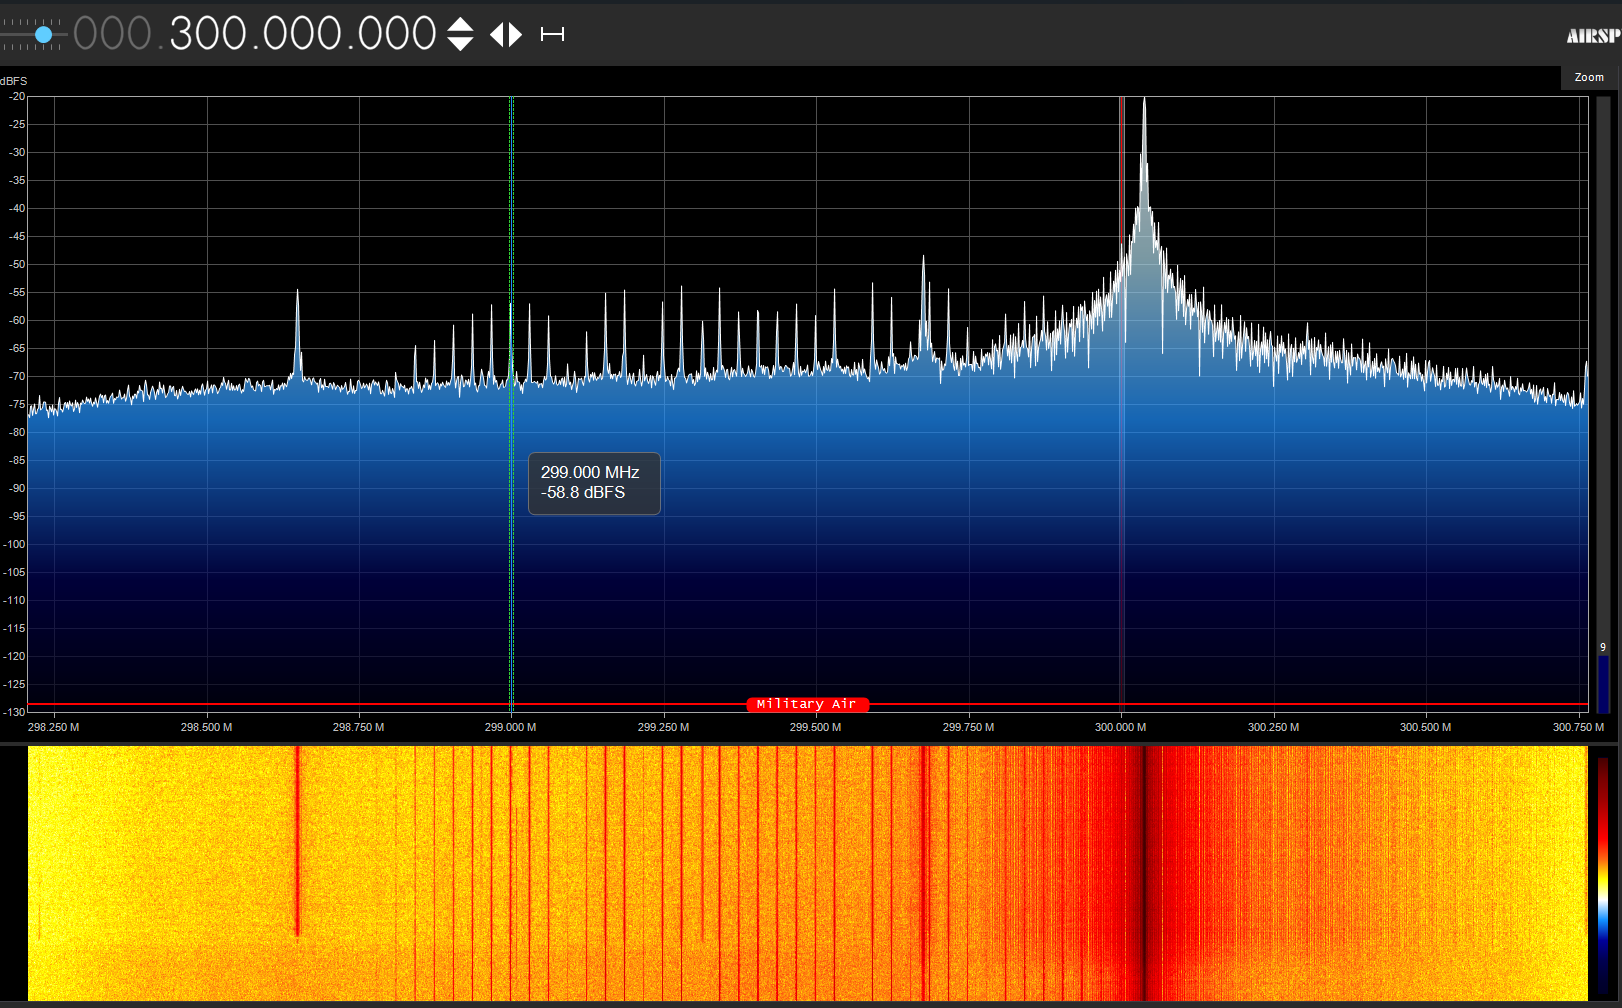
Monitoring the signal on another machine with an RTL-SDR radio attached, we can see the effect of jamming by monitoring the signal before and after.
Before Jamming
During signal jamming
Transmitting Sub Files
The Flipper zero uses .sub files to record sub 1Ghz radio signals. These files are commonly shared online. You can download a large collection of sub files from the following GitHub page:
https://github.com/Zero-Sploit/FlipperZero-Subghz-DB
As an example, we will be using Skyline_open_US.sub (for a Nissan skyline car).
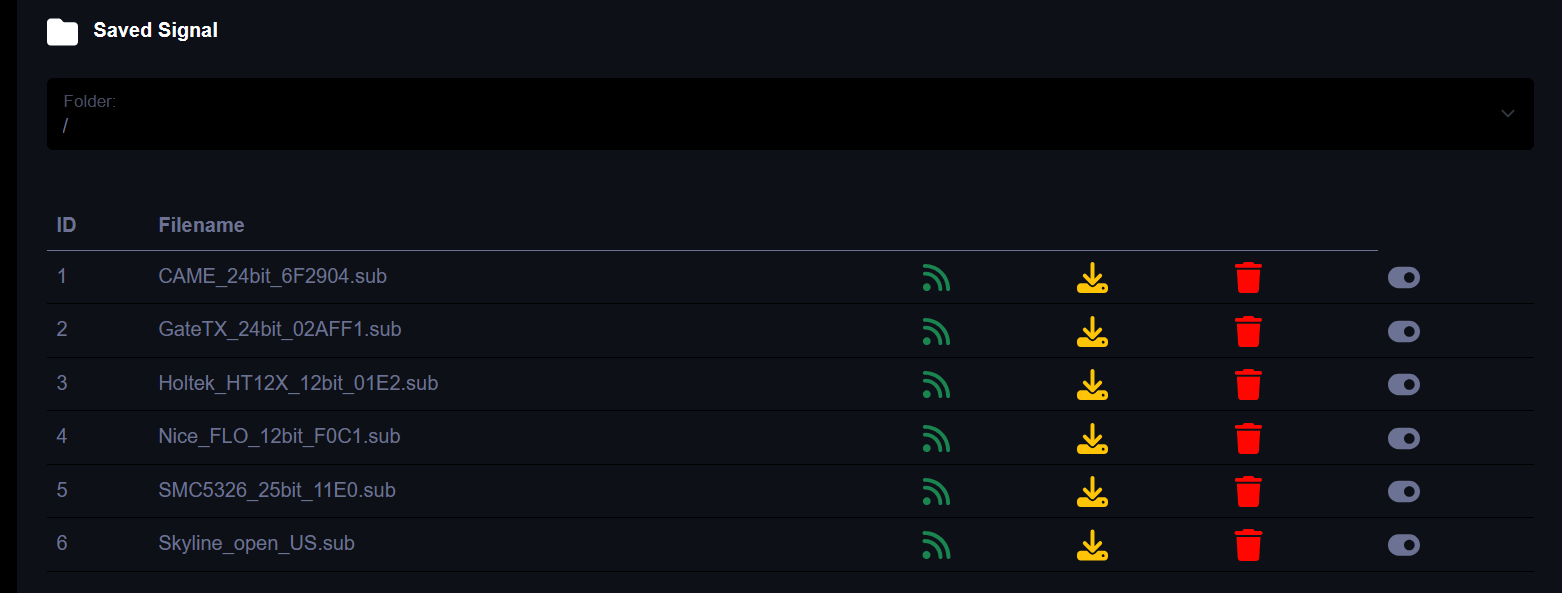
Select ‘Saved’ from the menu on the left, and upload the Skyline_open_US.sub file.

Click on the green icon opposite Skyline_open_US.sub.
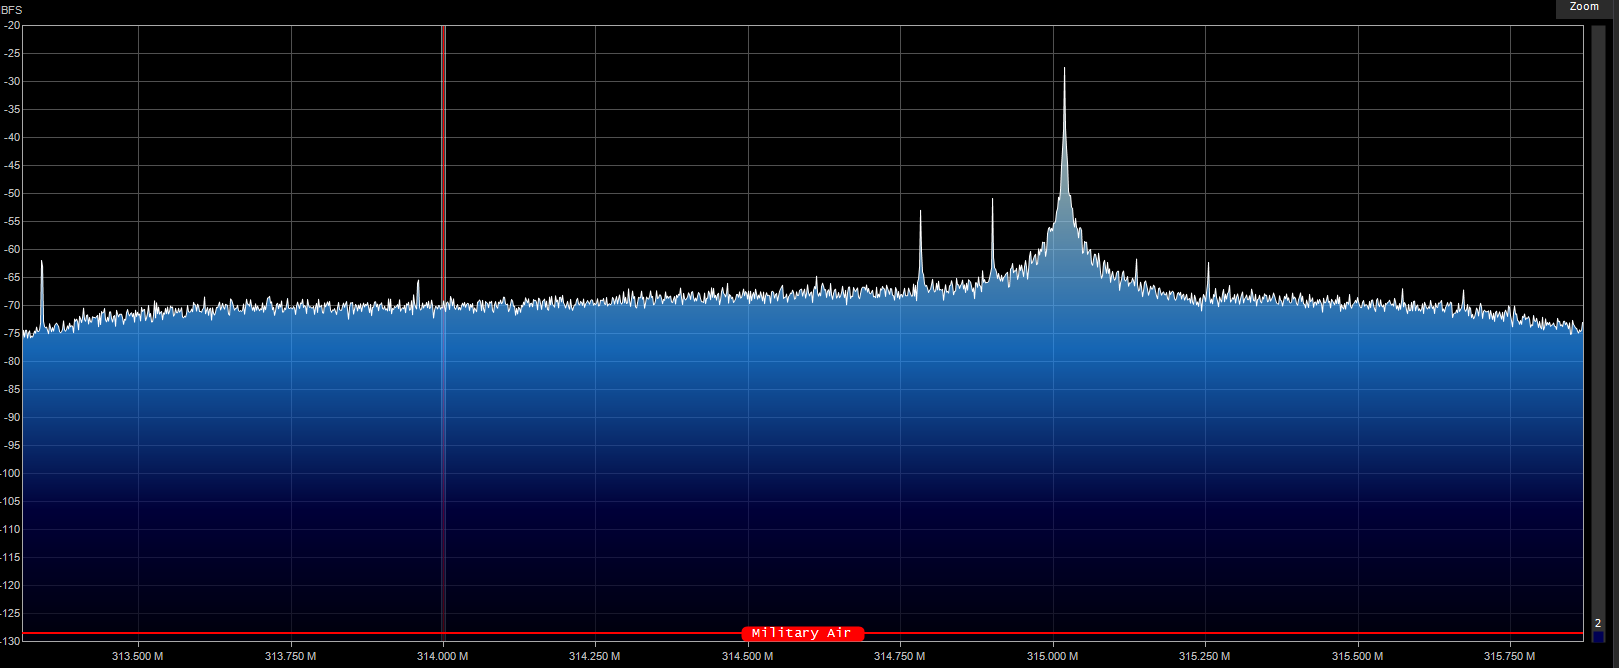
On our receiver, we can see the signal is being transmitted.
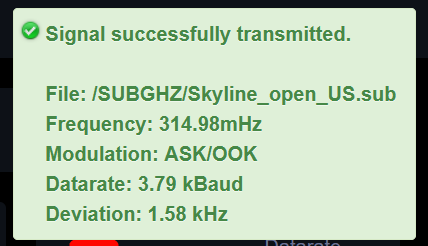
You should receive a notification when this is complete.
In Conclusion
The EvilCrowRF is an interesting piece of hardware that can provide an alternative to a Flipper Zero, assuming you are only interested in sub 1Ghz transmissions.